Wednesday, February 16, 2011

Attaching The Stem...

Here is the forward end of the keelson, ready for the stem.


 The stem is in position before gluing.


Clamps and temporary screws hold the assembly in position while the glue cures.  Barely visible is a lazer alignment line.


Here is a view of the forward end.


The completed assembly.

Wednesday, February 9, 2011

The Keelson...

The keelson was shaped from a 30mm by 50mm piece of spruce about 11 feet long.  It extends forward from the forward side of the keel trunk and attaches to the stem.  Eric created a drawing with full-sized sections every 500mm along the length of the keelson.  I glued the paper sections to thin plywood that I then cut into templates or patterns for each station along the keelson.  I shaped the keelson with a plane using the patterns as guides and blending between stations.  The bottom of the keelson forms a "V" which is flatter near the keel trunk and becomes sharper towards the bow.  Here is the keelson on the bench with the patterns at each station.


Screws hold the keelson in place while the thickened epoxy cures.  They were coated with a vegetable cooking spray so that they can be removed.

Monday, February 7, 2011

Gluing #1 Hull Strakes & Keel Trunk...

The #1 hull strakes have been glassed and sanded on both sides. It's now time to wire them together, align them and the keel trunk, and then to glue the strakes to each other and to the keel trunk. To make the bottom of the flange at the base of the trunk flush with the bottom of the hull strakes, wood blocks have been hot-glued to the bottom surface of the trunk flange. After the thickened epoxy glue has been applied to the top of the flange on both sides pressure is applied from above to hold the strakes against the blocks and thus flush with the flange.


The port #1 strake is in position on top of the trunk flange.  The starboard strake will be lifted slightly and placed in position next to the port strake.  The tie wires hold the strakes tightly together and screws next to the tie wires hold the assembly down to the building jig.  The strakes are glued together between the tie wires/screws with a thin bead of epoxy.  The tie wires and screws are removed after this glue cures and the remainder of the seam can be glued.


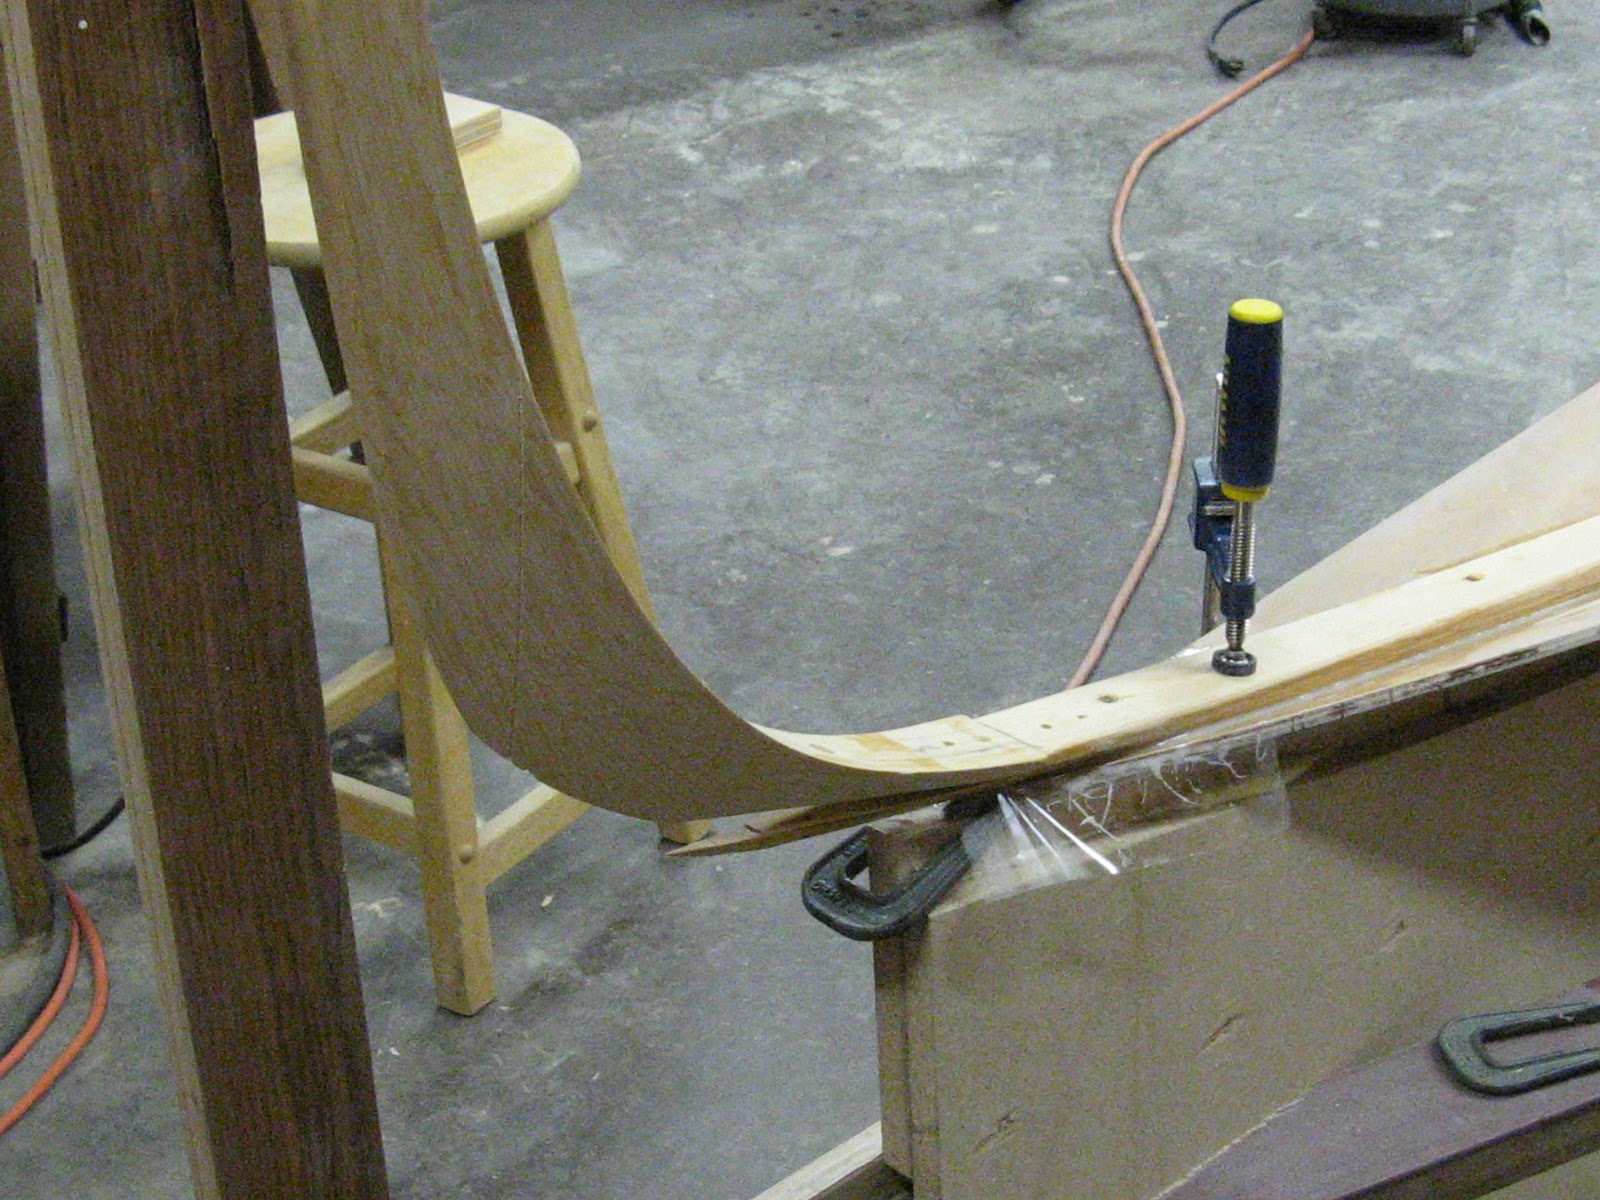
Pressure is being applied with sticks wedged from the ring on the trunk to strips of plywood on top of the strakes to get good glue squeeze out.