Thursday, May 9, 2013

Chainplates...

Eric and Paul have designed integral carbon fiber chainplates for this boat - very light and strong.

6mm ply backing plates go inside the hull.  Starting from the
blank at the top, the ply is tapered with a hand plane then glued
to the top inside surface of hull strake #4.


A cutout at the top of hull strake #4 is marked and cut.

Garolite (G-10) is a high strength epoxy-grade industrial
laminate sometimes called phenolic.   A 1/2" thick G-10 plate
was routed with a carbide cutter to accept a G-10 tube.


The assembly glued onto the hull.  Layers of carbon laminate will run up the outside of the hull over this structure and down the inside of the hull.


Simon Miles spent a day in my shop showing me how
carbon laminating is done.

The finished laminate covered with peel ply

Speaking of Simon, here is the beautiful keel he made me.  He also
made my bowsprit and is working on my mast.

The cured chainplate with excess laminate removed.  After the cabin sides go on, two notches will be cut in these chainplates to accept toggles for the standing rigging.  An additional single chain plate will be added to the cabin side.

Tuesday, April 23, 2013

Settee Bunk Tops...

Settee top support framework


A straightedge helps align settee top supports

Access port covers are supported by rings that also stiffen the settee top.

Underside of settee top gets 2 coats of unthickened epoxy sealer.


Inside of hull with 2 coats of epoxy sealer. 

Companionway Bulkhead...

Companionway bulkhead clamped and wired in position


Lower outboard ends of bulkhead fit nicely on floors

Seams have been glued and wires removed.


Triangular pieces at forward end of cockpit soften corner
at foot end of settee.
Fillets added to seams in cockpit

Traveler Beam...

Eric had a nice piece of Alaskan yellow cedar that I ripped, laminated,
and shaped for the traveler beam.


Gluing in place using most all of my clamps


Thursday, April 4, 2013

Extension of floors...


To keep an open feeling inside the boat, the number of big bulkheads going all the way to the deck has been minimized.  Transverse foam-cored floors (shown in blue) and the spruce floor (in gold just aft of the keel trunk) provide the necessary support.  Each foam floor has a medium density core covered with 4 layers of glass cloth interspersed with 8 layers of carbon unidirectional reinforcement.  This essentially creates a box beam.  Each floor assembly is vacuum bagged which clamps the layers together and helps provide a good resin/reinforcement ratio.

The foam-cored floors are installed in two stages.  The illustration above shows the first stage with the floors installed over hull strakes #1 and #2.  Other structure goes over the floors at this point.  After hull strakes #3 and #4 are installed the 2 forward foam-cored floors are extended over these strakes.


Forward 2 foam floors extended over hull strakes #3 and #4


Sunday, February 3, 2013

#4 Hull Strakes...


#4 hull strakes on the table ready to sand.


Fitting stringers forward.


Many hands make hanging the strakes on the hull go quickly.


Wet Locker Bottoms


There are two wet lockers immediately forward of the transom.  The port side locker is for propane and the starboard side is storage for gasoline for the outboard motor.  The bottoms of these lockers slope down to holes in the transom so that any leakage will drain overboard.  Shown here is the port side bottom.  No sanding of the edges was necessary for this fit.


To provide a ledge for the bottoms to rest on, thin strips of wood were hot-glued to the transom and bulkheads and a bead of thickened epoxy resin was applied to the bottom of the strips.  Packing tape on the strips ensured a release of the epoxy.


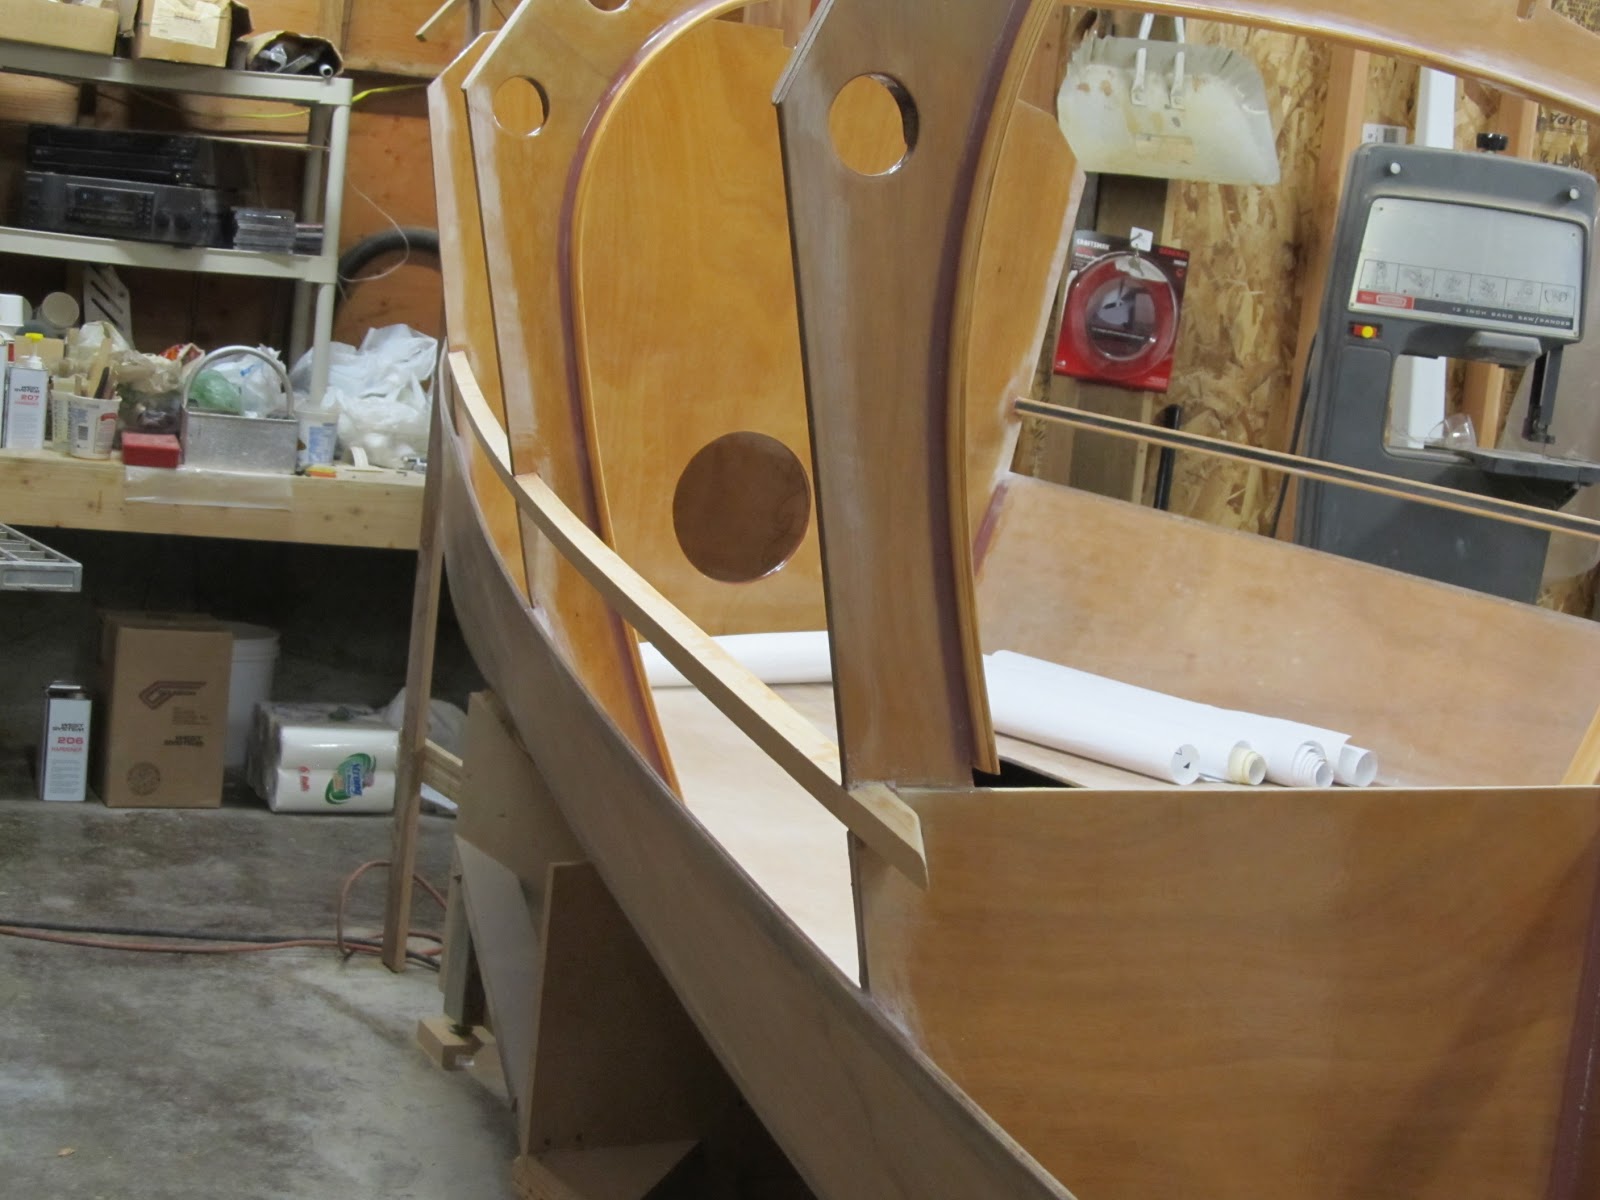
Two coats of clear epoxy resin and the bottoms are ready to install.


The installed starboard wet locker bottom with fillets.