Sunday, February 3, 2013

#4 Hull Strakes...


#4 hull strakes on the table ready to sand.


Fitting stringers forward.


Many hands make hanging the strakes on the hull go quickly.


Wet Locker Bottoms


There are two wet lockers immediately forward of the transom.  The port side locker is for propane and the starboard side is storage for gasoline for the outboard motor.  The bottoms of these lockers slope down to holes in the transom so that any leakage will drain overboard.  Shown here is the port side bottom.  No sanding of the edges was necessary for this fit.


To provide a ledge for the bottoms to rest on, thin strips of wood were hot-glued to the transom and bulkheads and a bead of thickened epoxy resin was applied to the bottom of the strips.  Packing tape on the strips ensured a release of the epoxy.


Two coats of clear epoxy resin and the bottoms are ready to install.


The installed starboard wet locker bottom with fillets.

Cockpit Sole...

In preparation for the cockpit sole, cross supports are glued in place and all contact areas are sanded.  Void area under cockpit sole was coated with an additional 2 layers of epoxy.


The under side of the sole was painted on the bench.


Lead weights hold the sole down while epoxy sets.


Sole is in place with fillets.

Under side of installed cockpit sole.


Wednesday, October 31, 2012

Forward bunk flat...

The holding and water tanks are fitted before both sides of the forward bunk flat are glued.  The black flexible fresh water tank holds 15 gallons and is attached at all corners to pad eyes.  The pad eyes are made up of high strength Dyneemea braided line formed into loops that are fed through a hole in plywood disks.  The line is unbraided then sealed with epoxy.


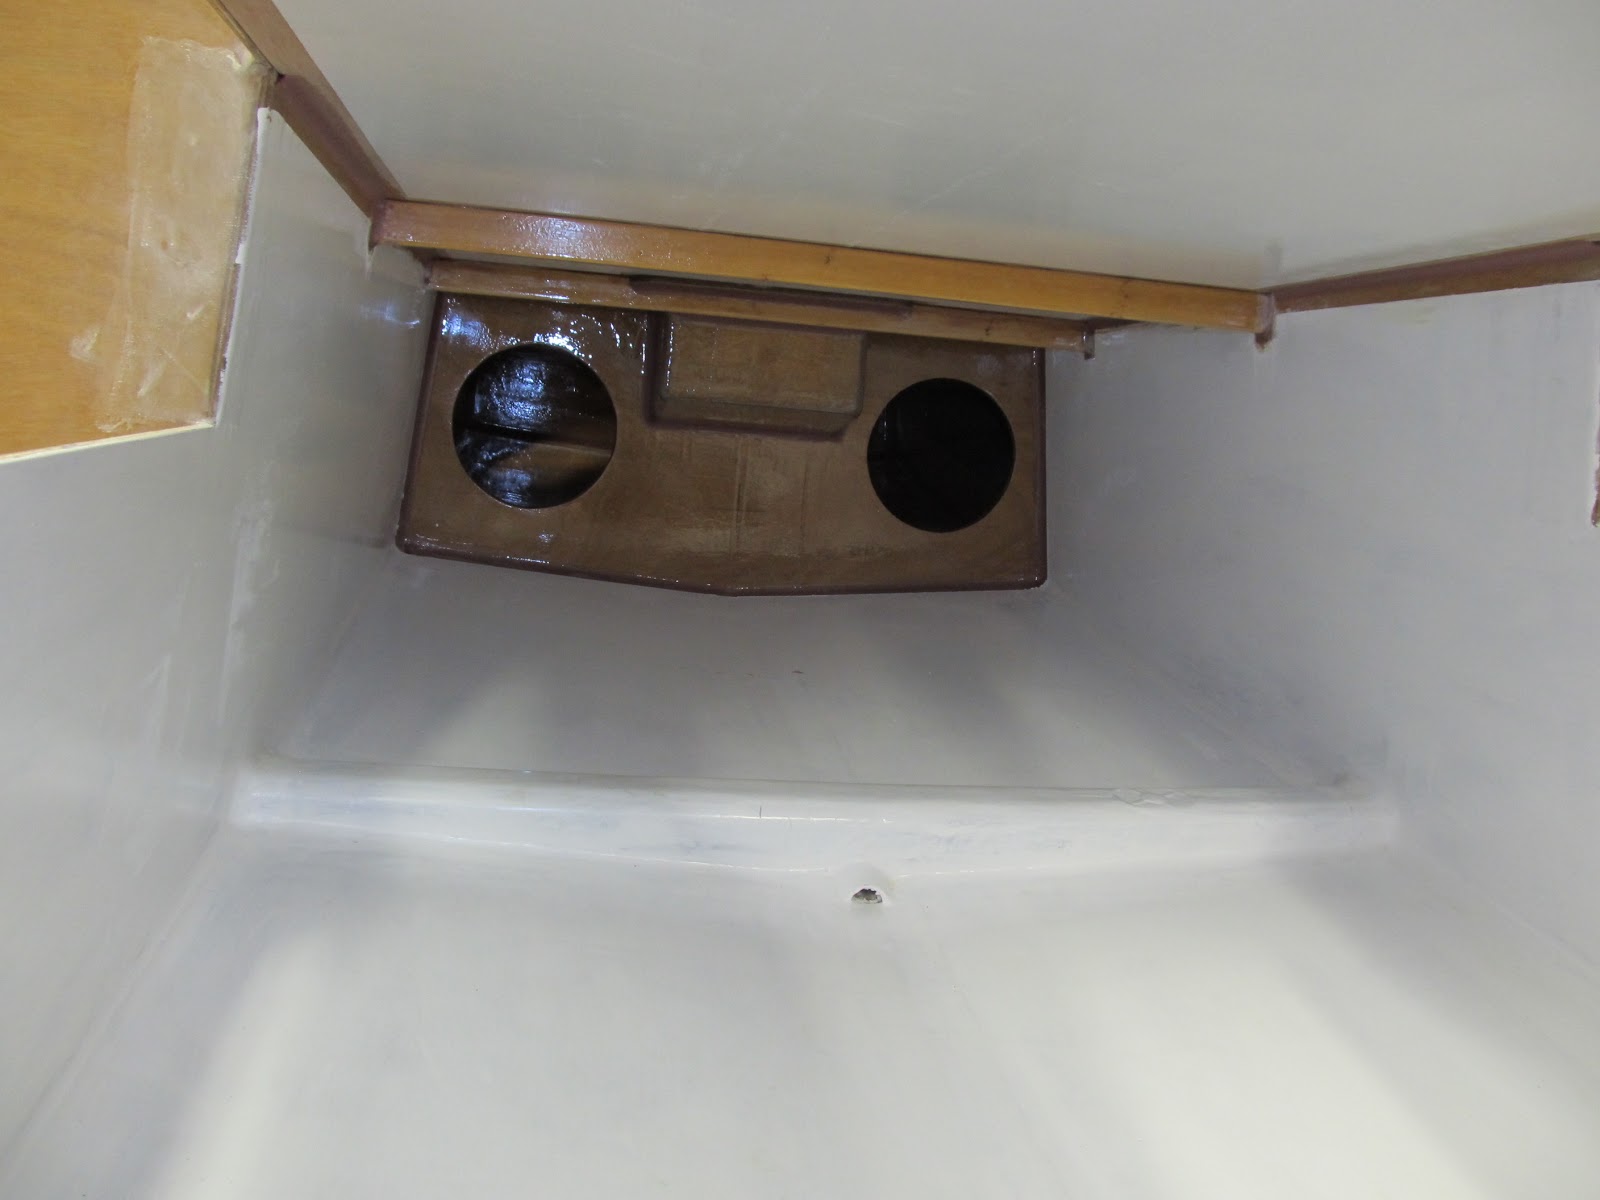
The mounting bracket for the holding tank is on the left.


The large access hatch will allow room for final fitting of the tanks later.


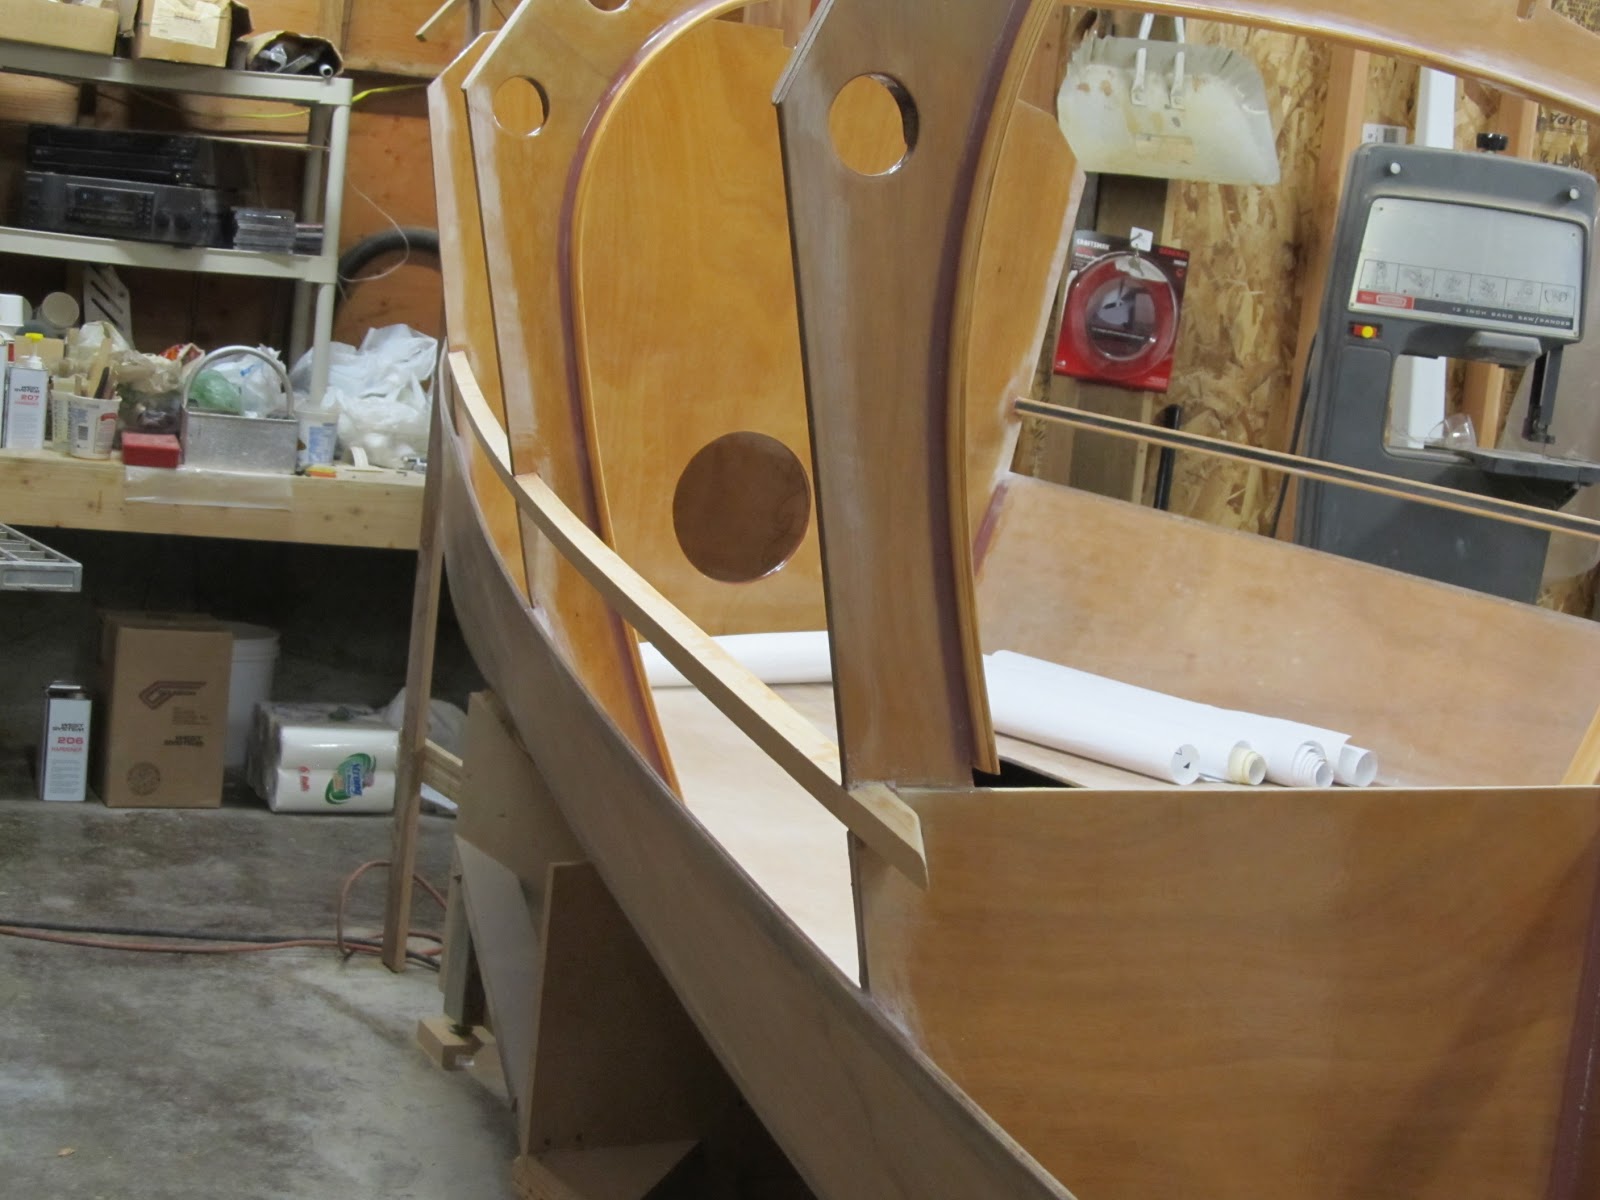
The cockpit sole is being fitted here.  It slopes aft so water drains through the transom.  Because of this slope and the angle of the cockpit sides, the sole is tapered and will be installed by sliding it forward through the transom.


The area underneath the cockpit, the bunk fronts, and the head area have been painted white. The final finish inside the cabin will be a balance of semi-gloss white paint and varnish.  The idea is to avoid the dark appearance of an all-varnish finish.


Saturday, June 23, 2012

New Parts...

Several months ago I ordered my lead keel bulb through Jim Betts in Anacortes.  He is building 2 Bieker boats which needed keel bulbs and he kindly let me piggy back on his order.  They turned out really well - mine weighs just shy of 1300 pounds.


The bottom of the keel makes a transition from curved to flat.  

I built a plywood box to hold the bulb securely while transporting it
Simon Miles built this beautiful bowsprit with carbon - very light and strong.  Simon is building a Bieker Rip Tide 25 which uses this same bowsprit.  Simon got his lead keel bulb from the same batch as mine. 


Meanwhile, back in the boat shop, I have installed the head flat.  Hole is for inspection port.  Work continues on the holding tank bracket and the forward bunk flat.


Saturday, May 5, 2012

Mast Support & Ring Frames 3...

Paul Bieker supplied me with a tapered carbon fiber tube for the mast support.  It began life as a bow spirit for an International 14.  I used the top 5 feet or so for the support.


Two notches were cut in the lower end of the support to fit over its bulkhead.


The support was dry fit and the alignment was checked with the laser.  I took some extra time here to get it right.


The mast support is glued in and the starboard ring frame is attached.


Both ring frames are attached here.  The starboard forward bunk flat is checked for fit.


A view of the attached ring frame and mast support from aft.


Monday, April 2, 2012

Ring Frames 2...

The first ring frame is assembled and is ready to be installed.  Here it is aligned with the laser.


The first ring frame is glued into the boat.