Here is the forward end of the keelson, ready for the stem.
The stem is in position before gluing.
Clamps and temporary screws hold the assembly in position while the glue cures. Barely visible is a lazer alignment line.
Here is a view of the forward end.
The completed assembly.
Wednesday, February 16, 2011
Wednesday, February 9, 2011
The Keelson...
The keelson was shaped from a 30mm by 50mm piece of spruce about 11 feet long. It extends forward from the forward side of the keel trunk and attaches to the stem. Eric created a drawing with full-sized sections every 500mm along the length of the keelson. I glued the paper sections to thin plywood that I then cut into templates or patterns for each station along the keelson. I shaped the keelson with a plane using the patterns as guides and blending between stations. The bottom of the keelson forms a "V" which is flatter near the keel trunk and becomes sharper towards the bow. Here is the keelson on the bench with the patterns at each station.
Screws hold the keelson in place while the thickened epoxy cures. They were coated with a vegetable cooking spray so that they can be removed.
Monday, February 7, 2011
Gluing #1 Hull Strakes & Keel Trunk...
The #1 hull strakes have been glassed and sanded on both sides. It's now time to wire them together, align them and the keel trunk, and then to glue the strakes to each other and to the keel trunk. To make the bottom of the flange at the base of the trunk flush with the bottom of the hull strakes, wood blocks have been hot-glued to the bottom surface of the trunk flange. After the thickened epoxy glue has been applied to the top of the flange on both sides pressure is applied from above to hold the strakes against the blocks and thus flush with the flange.

The port #1 strake is in position on top of the trunk flange. The starboard strake will be lifted slightly and placed in position next to the port strake. The tie wires hold the strakes tightly together and screws next to the tie wires hold the assembly down to the building jig. The strakes are glued together between the tie wires/screws with a thin bead of epoxy. The tie wires and screws are removed after this glue cures and the remainder of the seam can be glued.
Pressure is being applied with sticks wedged from the ring on the trunk to strips of plywood on top of the strakes to get good glue squeeze out.
Thursday, December 9, 2010
A short movie clip...
Eric and Paul at Bieker Boats use a design tool called Rhinoceros. They shared this with me.
Saturday, November 27, 2010
Number One Hull Strakes...
It seems that this stage has been a long time in coming. I am finally putting together the pieces that make up the hull.
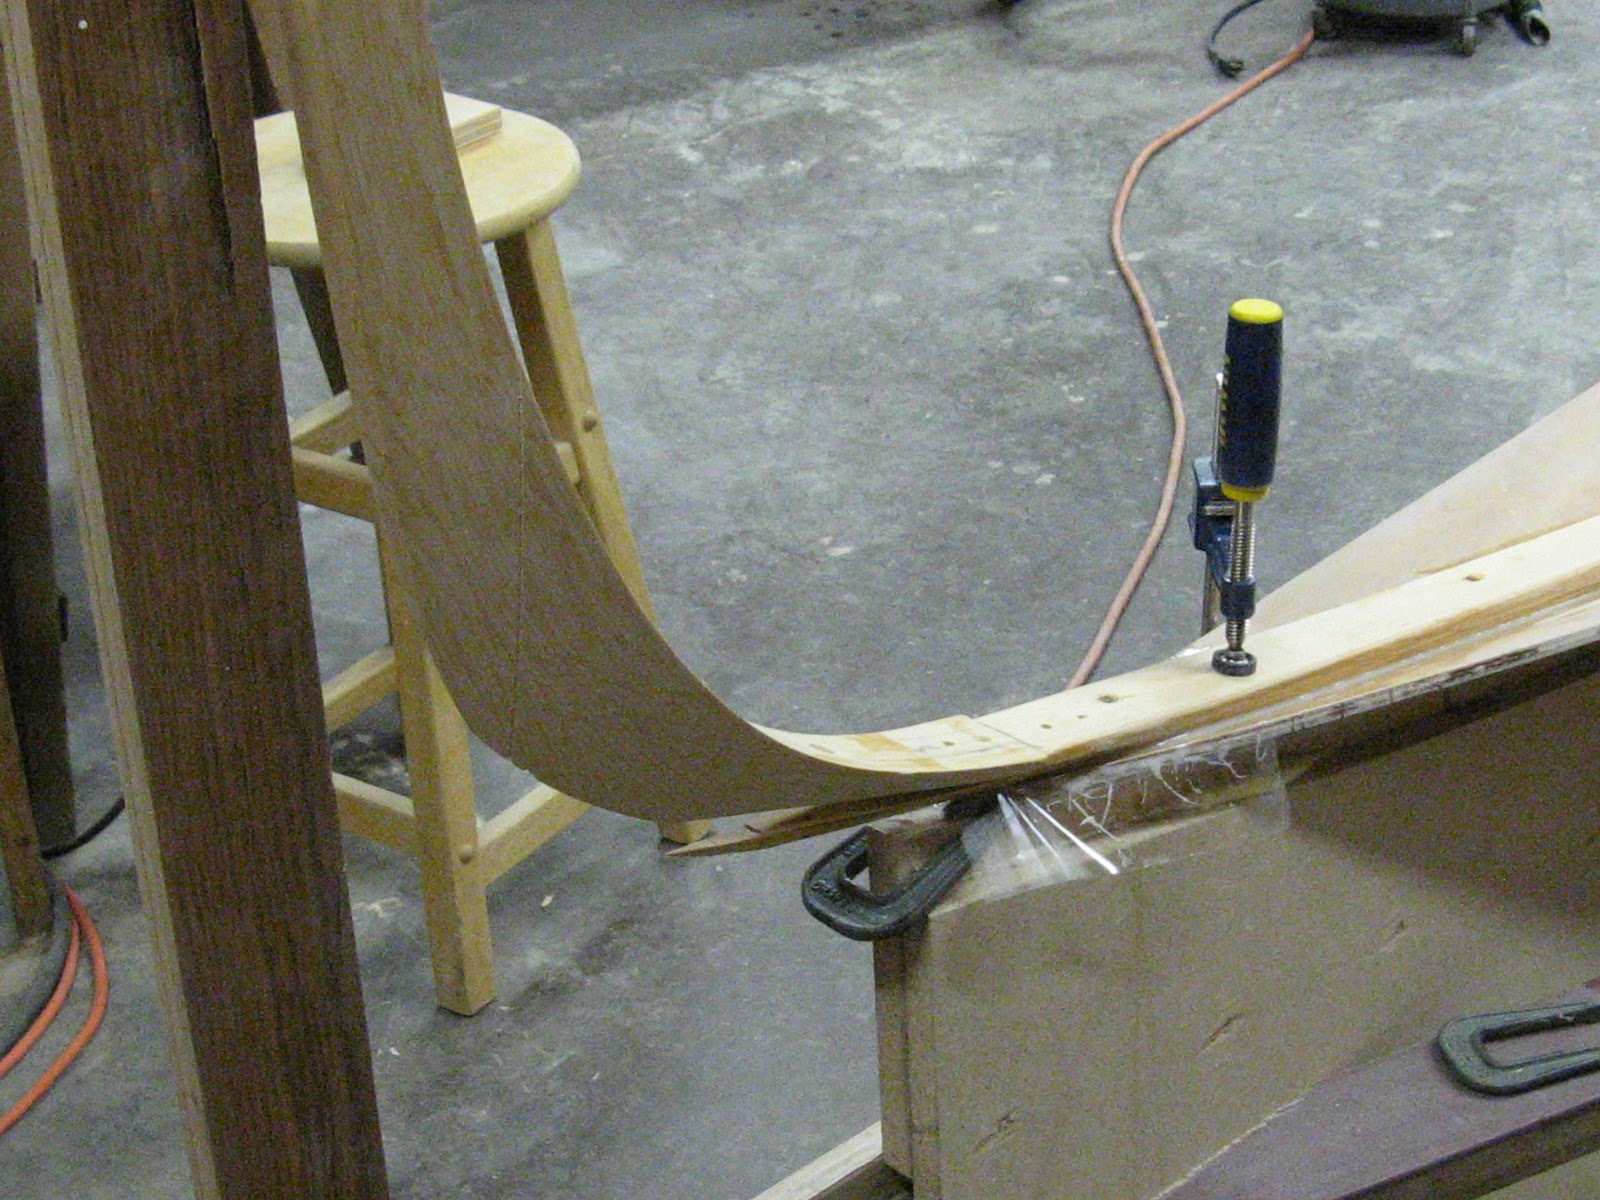
The number 1 strakes, port and starboard are the closest to the centerline of the boat. Here they are being fitted to the keel trunk. There is a rebate cut on what will be the outside of the boat to fit the flange at the bottom of the keel trunk.
The port and starboard #1 strakes on the bench to dry fit the puzzle joints before gluing. This is the outside surface of the strakes with rebates cut around the perimeter. There will be an extra layer of fiberglass tape to reinforce the joints where the panels meet and the rebates take up the extra thickness of the fiberglass at these joints.
The port and starboard #1 strakes on the building jig for a dry fit. Fiberglass cloth and epoxy resin will be applied to these surfaces next.
The puzzle joints have been glued and the panels are ready for a layer of fiberglass on the inside surfaces.
A bit of a bump along the way. A bearing in the motor of my very old table saw seized up.
Here 10 oz. fiberglass cloth is being draped over the port and starboard #1 hull strakes. Underneath the roll of 10 oz. cloth on the wall rack is a roll of 6 oz. cloth that will be applied to both sides of the bulkheads and other interior parts. A layer of plastic over both rolls keeps most of the dust off.
A box with a 40 watt light bulb inside covers the epoxy resin and hardener. The light generates enough heat to make pumping easier. Each part of hardener needs five parts of resin to cure properly.
I use a kitchen scale to measure the correct proportions of resin and hardener.
Hull strake #1 port with cloth and one coat of epoxy applied with a roller. Another coat of epoxy is applied later in the same day to cover the weave in the cloth.
The second coat of epoxy has been applied. When it is cured there will be a "blush" on the epoxy that will be removed with a water scrub before sanding.
Friday, November 19, 2010
The Stem...
I bought 2 nice spruce planks from Russell. The keelson will come out of long one on the bottom. The top one was ripped into thin strips which were then glued together over a mold to form the stem.
Brandon cut the parts for the mold on his CNC machine.
Here is the assembled mold ready to take the first spruce strips. There were four separate gluing operations. The mold was covered with plastic packing tape to keep the stem from sticking to the mold.
I added plastic-covered guides (you can see one set between clamps 2 and 3 on the right) to keep the laminations from slipping sideways. Each laminate was coated with straight epoxy on both sides first. Then I went back and used a notched trowel to add a coat of thickened epoxy to each side of each lamination before clamping.
Here is the first lamination after the epoxy cured.
Gluing layer number 2
Layer 2 cured
Layer 3 doesn't need the full length of the mold.
After layer 3 cured, the whole thing was taken off the mold to glue on cheek blocks.
Finally, the assembly was spot glued back on to the mold ready for machining at Brandon's shop in Port Townsend.
The finished stem turned out nicely
A closeup showing a reference line that was machined at the same time as the part.
Thursday, November 4, 2010
Plywood parts and the keel trunk...
All the plywood parts (I counted 176 total) for the boat were precision cut on a CNC machine by Brandon Davis at Turnpoint Design in Port Townsend.
While I was busy putting the jig together, Russell Brown created the keel trunk which is the heart of this boat. Everything will be built around it. I had Russell do this as it needed to be done absolutely right. It is highly engineered with many parts and carbon fiber fabric. I didn't think I was ready for this kind of part just yet.
Brandon and Eric discussing the fine points of a design on Eric's laptop. |
The five-axis machine that did the cutting. |
It doesn't really look like a boat |
I built a rack out of pvc pipe and some fiberboard to keep the parts off the floor and accessible. |
Eric and Russell with the deck end of the trunk showing. The two sockets visible to the right of the 2x4 will take the crane assembly that will lift and lower the keel in the trunk. |
![]() |
A beautiful piece of work - less than 40 pounds! |
![]() |
A look inside |
The trunk on the building jig adjusting to plumb with the laser. The top of the trunk is attached to the rafters to hold it in position. |
Subscribe to:
Posts (Atom)